 Webmail
 Dynamic Mail
Notes
The Notes feature in webmail lets you jot down quick notes you can use to remind yourself of information later.
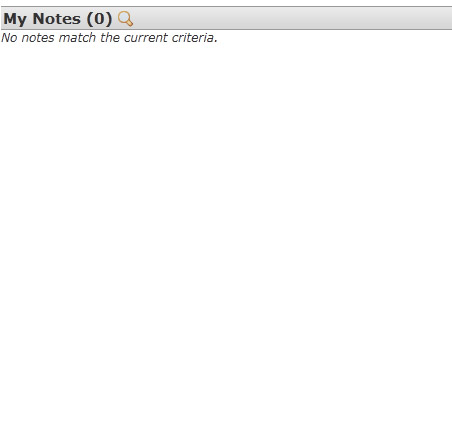
Viewing the Note List
To view your current Notes, from the Tree Area, make sure Organizing is expanded, and click the Notes option. You'll see the following page:
Creating a New Note
To create a new note, click the New Note button in the Button Area. You'll see the following page:
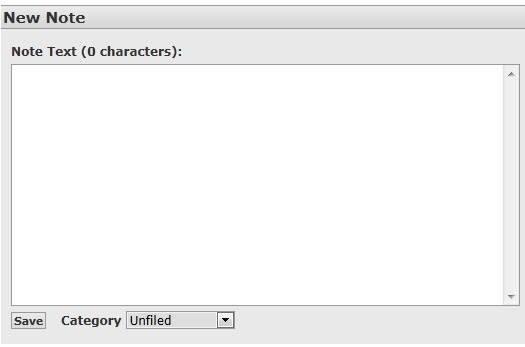
The Category option lets you group Notes into a category. You can leave the task Unfiled, or click the drop-down list to select a Category. You can also create a new category by clicking the New Category option. When you click the Save button, it will ask you for the new category name. When you've finished writing your note, click the Save button.
Viewing, Editing, and Deleting a Note
To view a note, go back to the Note List, and click the text of the Note you want to view. You'll see all the information about the note that you entered earlier. In the upper-right corner, you'll see three options: Save as PDF, Edit, and Delete. You can save the note as a PDF file so you can put it on your hard drive for future reference. You need to have Adobe's Reader installed on your computer to view PDF files. To edit the note, click the Edit option. You'll see the same options as when you created the note, and you can change any of these options. To delete the note, click the Delete option. You'll be asked "Really delete this note?". If you're sure, click OK.
Searching for Note
To search for a note, first click the Search button in the Button Area. You'll see the following page:
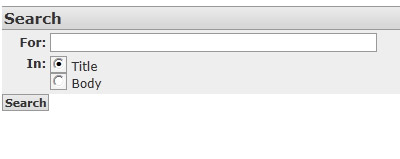
In the For text box, you would enter what you are searching for. You can also select which areas of a note entry you want to search in. After clicking Search, you'll be taken back to the Notes List with just the notes that match your search being shown. If there are no notes that match your search, no notes will be listed.
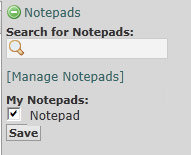
Multiple Notepads
You also have the ability to setup multiple Notepads. This could be useful if you want to seperate from your Personal and Work notes, for example. To create another Notepad, go back to the Notes List page by either expanding the Organizing options and clicking Notes in the Tree Area, or by clicking the List Notes button in the Button Area. On the right, you should see a menu that looks like:
Click the Manage Notepads link. You'll see a list of your Notepads, with a Create a New Notepad button at the top. Clicking this button will bring up a page asking you for a name and description. You have to type a name, but the description is optional. Once you've filled in the information, click the Create button, and the new Notepad will be created. You can manage this new Notepad just like you did before.
To switch between Notepads when viewing your notes, go back to the Notes List page and use the menu shown earlier. There are checkboxes at the bottom for each notepad. Check which ones you want to view and click the Save button. To makes changes to a notepad, go back to the Manage Notepads page. To the right of each Notepad, there are three icons: ![]()
![]()
![]() .
.
Clicking the ![]() icon will take you to the Edit Page, where you can change the name and description. Once you've finished making changes, click the Save button. Clicking the
icon will take you to the Edit Page, where you can change the name and description. Once you've finished making changes, click the Save button. Clicking the ![]() icon lets you change the permissions of the Notepad. And clicking the
icon lets you change the permissions of the Notepad. And clicking the ![]() icon will let you delete the Notepad. You'll be asked "Really delete the Notepad?". If you're sure, click the Delete button.
icon will let you delete the Notepad. You'll be asked "Really delete the Notepad?". If you're sure, click the Delete button.
Printing Notes
You can also print your notes by clicking the Print button in the Button Area. A new window will come up with a printable version of your Note, as well as a Print dialog window:
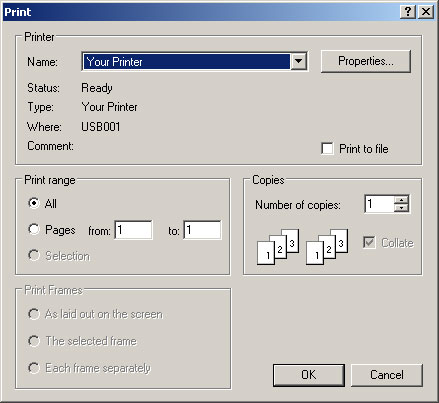
Click OK to print, or click Cancel if you've changed your mind.